
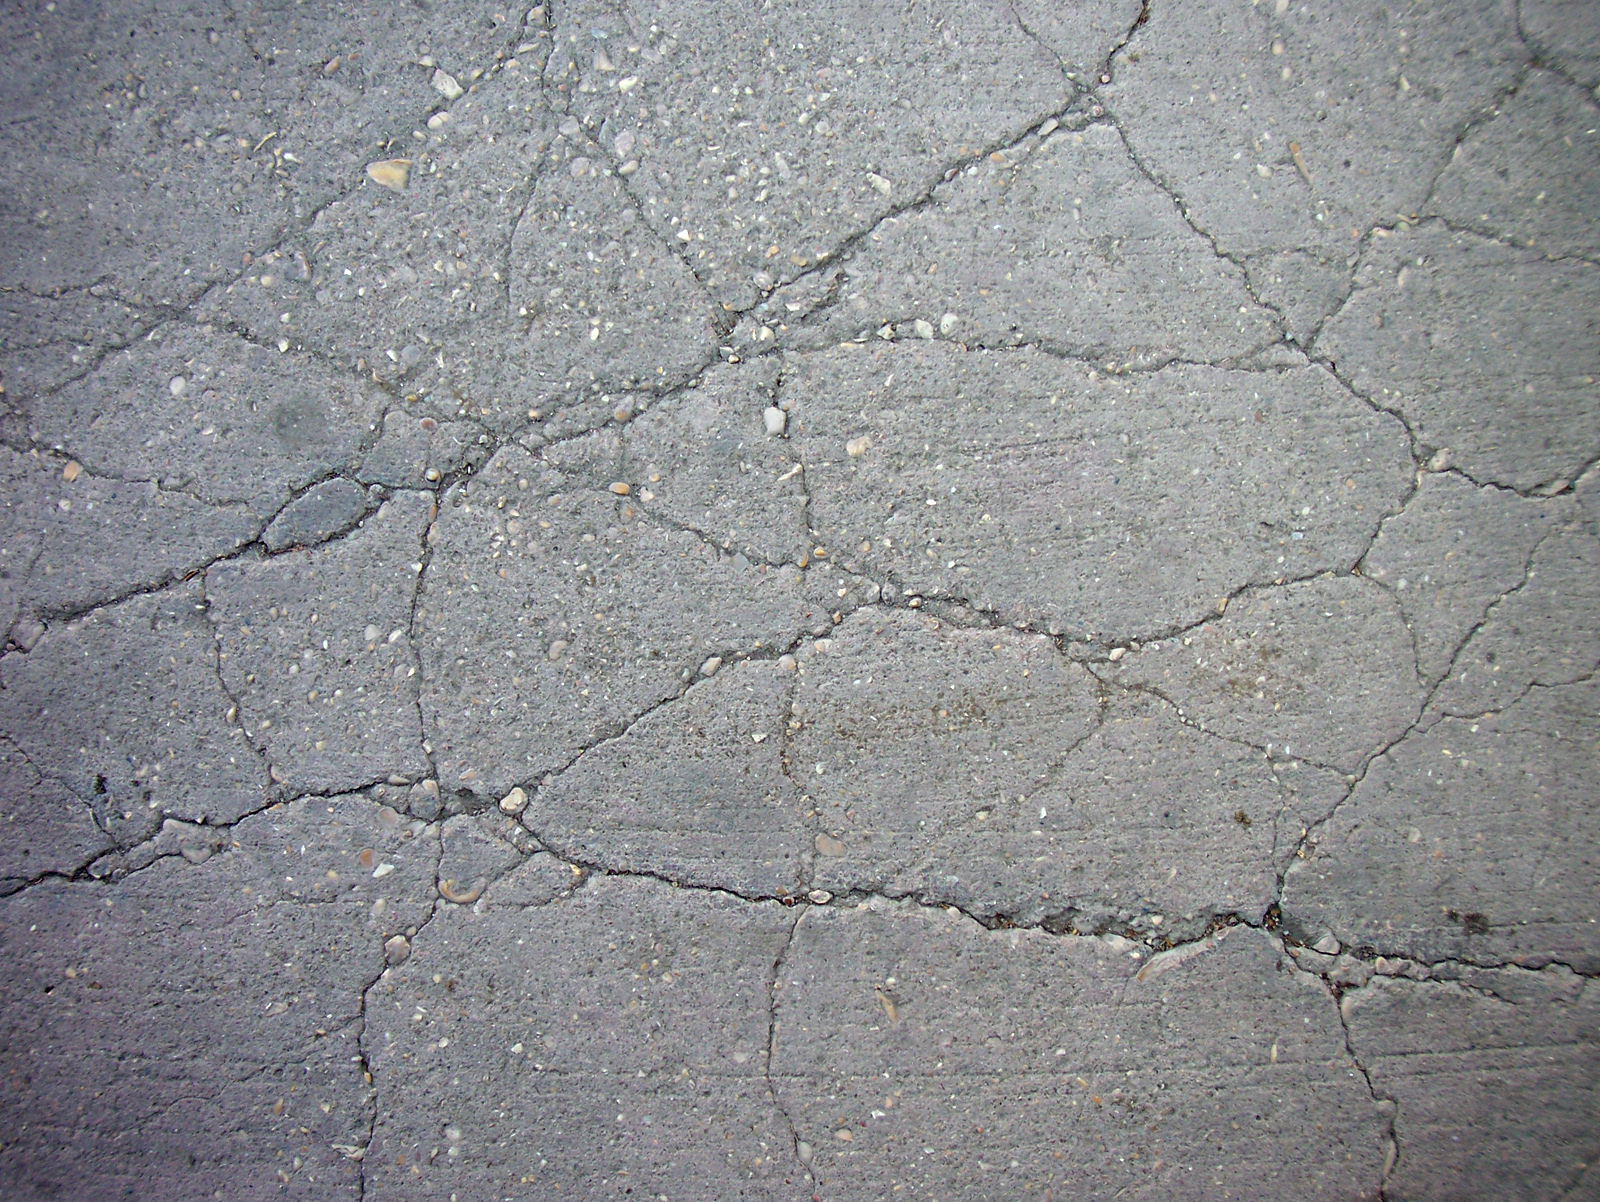
Concrete Cracks
12 Photos of Concrete Cracks
 |
Concrete Cracks 12 Photos of Concrete Cracks |
 |
Concrete Cracks 12 Photos of Concrete Cracks |
 |
Concrete Cracks 12 Photos of Concrete Cracks |
 |
Concrete Cracks 12 Photos of Concrete Cracks |
 |
Concrete Cracks 12 Photos of Concrete Cracks |
 |
Concrete Cracks 12 Photos of Concrete Cracks |
 |
Concrete Cracks 12 Photos of Concrete Cracks |
 |
Concrete Cracks 12 Photos of Concrete Cracks |
 |
Concrete Cracks 12 Photos of Concrete Cracks |
 |
Concrete Cracks 12 Photos of Concrete Cracks |
 |
Concrete Cracks 12 Photos of Concrete Cracks |
 |
Concrete Cracks 12 Photos of Concrete Cracks |
Concrete Cracks - All you want to know about Concrete Cracks (Fresh - Hardened) - Part 2
Concrete Cracks
All you want to know about Concrete Cracks (Fresh - Hardened) Part 2
|
Concrete Cracks All you want to know about Concrete Cracks (Fresh - Hardened) |
Okay, you’ve got your subgrade ready, you have placed a plastic vapor barrier on the subgrade for slabs that will support dwellings, your steel is sitting nicely on your plastic chairs in the proper position, and you now have 14 of your closest friends on their way over to help you place the concrete you have coming. When the concrete arrives, if you don’t have a vapor barrier, wet the subgrade without puddling the water so that the water in the concrete will not be absorbed by the dry subgrade, thus causing uneven drying and the dreaded plastic shrinkage cracks. Once the concrete is placed, make sure to protect it from high winds and direct sunlight so the concrete will dry evenly from top to bottom. You are now ready to perform the most important step in preventing noticeable cracking. Contraction joints are the secret to no cracking! By placing contraction joints that are at least 1/4th the depth of the concrete and on intervals of 25 to 30 times the depth of the concrete (usually easiest with a jointing trowel or tool while the concrete is still fresh), you will almost ensure there will be no visible cracking in your concrete. If your slab is 4 inches thick, the joints must be at least 1 inch deep and placed every 100 to 120 inches. If you cannot use a jointing tool to put the joints in, you can hire a concrete sawing contractor to do this for you. Make sure he cuts the joints a minimum of 1/4th the slab depth. This jointing method helps the concrete crack at the weakest point. This is why it is so important for the joints to be deep enough. Variations in subgrade levels could cause greater stress in the concrete in an area where the joint isn’t deep enough, and the concrete will crack outside the joint. Once your joints are in place, and the concrete has cured for about two weeks, you are ready to seal the joints. This will prevent water from migrating into the subgrade and expanding and contracting, or getting into the joints and freezing, causing the water to expand and breaking out the concrete around the joints. You now have a concrete structure that will serve you wel
No comments:
Post a Comment